Honey bees make honey of course, but they also make other things that are essential to the colony. Along with honey, bees also produce beeswax. Beeswax is a very complex material that makes up the foundation of the hive. It is where the queen lays her eggs, it is where the brood is reared, it is where the food (honey and pollen) is stored and it is where the bees spend the majority of their time. It is on the beeswax that the scout bees do their dance to direct the foragers to ripe flowers, and is said to resonate certain frequencies for communication. The beeswax really is the essence of the bee hive.
Beeswax is also precious. The honey bees must consume about 20 pounds of honey to produce 1 pound of beeswax! That is why a bee colony in it's early years rarely produces much surplus honey, because much of the available honey goes right into wax making.
When a beekeeper harvests honey, he or she must also harvest a certain amount of beeswax. The idea is to leave as much wax as possible for the bees to reuse, but it is unavoidable that some wax must be cut off the frames in order to let the honey flow. The wax that is cut off the frame to free the honey, is called capping wax. This is because when a cell of beeswax (honey comb) is filled with honey, it gets capped with wax. What beekeepers do with the capping wax depends on the beekeeper, but in my mind it is a crime not to put it to good use after all the effort the bees put into making it. Early on, Whitney and I decided we wanted to try making lip balm with our capping wax, so when we extracted honey last fall (Blog Post: The first honey), we saved all of the beeswax.
 |
| Our capping wax with the other stuff to make lip balm! |
One weekend this winter, we decided the time was right for lip balm making. Whitney did the research and found the all natural and organic ingredients for our custom lip balm. After cleaning the wax thoroughly we assembled the other ingredients.
 |
Natural lip balm consists of four main categories of ingredients: 1. Beeswax (top) 2. natural butters (left) 3. carrier oils (right) and 4. essential oils and flavors (bottom). We measured everything out and heated a double boiler to combine the ingredients, since the beeswax must be liquid for mixing.
 |
| Melting beeswax in a double boiler. |
Once the wax is melted and the ingredients well mixed, it's time to fill the tubes. This got a little exciting as neither of us wanted hot wax on our hands, but with a small funnel, and Whitney's good idea of creating a tube holder from a cardboard box, we got it done.
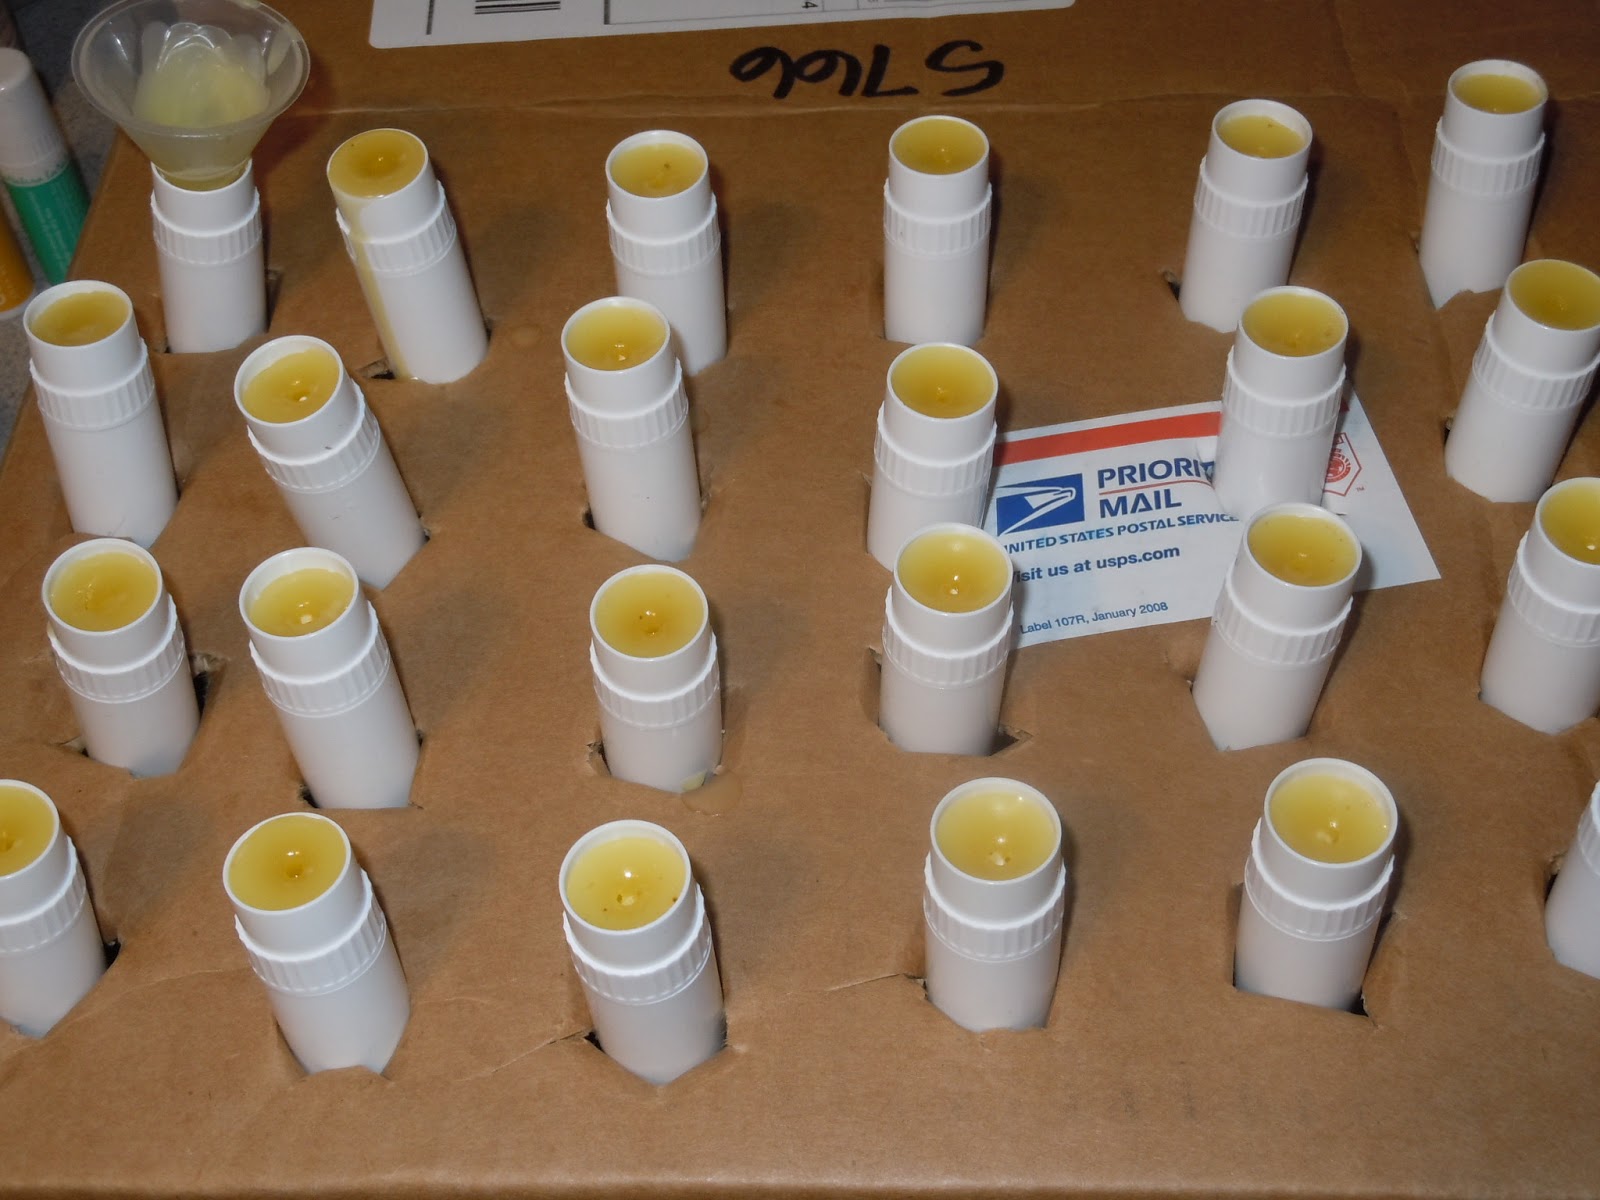 |
| Filled lip balm tubes cooling. |
Once the tubes are filled, they must cool for 24 hours. Whit's cardboard box with holes cut in it held the tubes upright while the wax was cooling. Finally, after the lip balms cooled we each took one and used it for several weeks to make sure we liked them and that they worked well.
Let me add here that I am a harsh judge of balms. Since I have very dry skin and work outdoors, my lips and fingers tend to crack and bleed if I don't use balm regularly - especially in the harsh northern winter. I am proud to say that our hand made lip balm passed my tests with flying colors, and did it while smelling great!
 |
| Lip Balms with labels on and ready to go! |
We've also made a Mint Chocolate lip balm, but it is not yet available, and we may add more varieties in the future.
Thanks for visiting and if you have an idea for a lip balm flavor, feel free to leave us a comment!
Cheers! KJ
2 comments:
Simply awesome!
How did you know what to put on your lip balm label with all the FDA requirements?
Post a Comment